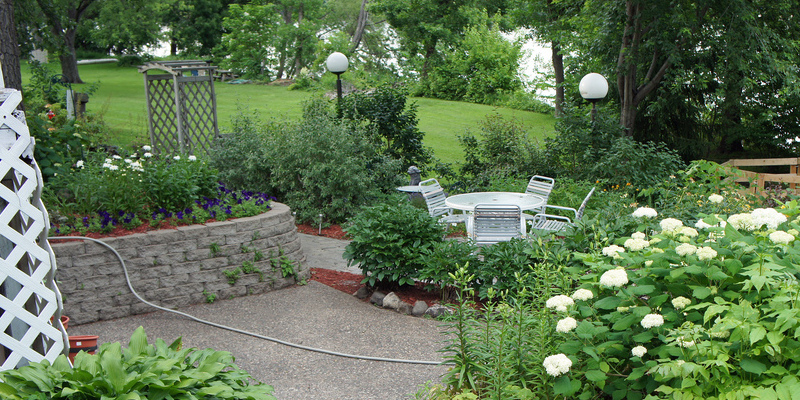
Raised bed planters as well as a home foundation or beside a Shrub Removal equipment Phoenix, AZ dip provide a spot for planting San Diego, and a wooden bed with curved edges helps soften the harsh, direct lines of the home or building walls. Most wood doesn’t bend easily, but with a combination of flexible bender board and narrow boards installed vertically, you can form gradual curves in your raised planter design. The planter area is open at the bottom so it drains freely to the soil.
Lay a Grass Care service Fort Lauderdale hose on the Landscaping design Flagstaff, AZ to indicate where you want to construct the raised planter, utilizing the flexible hose to form the gradual curves of the plan. Spray along the hose with Landscaping ideas Boise, ID spray paint to mark the design.
Drive a 2-foot-long, 2-by-2-inch wooden stake 12 inches to the Landscaping cost Miami at each end of the bed, leaving 12 inches of the stake protruding above soil level. This creates a 12-inch-deep planter, but you can increase the length of the bets to make a deeper planter. Space extra bets no more than 4 feet apart along straight sections, and 1 to 2 feet apart across the curves.
Unroll benderboard and set it in place in front of the bets, with the bottom border of the benderboard resting on the Landscaping design Boise, ID. Benderboard is very flexible and easy to adhere to the curved design because it comes from tight rolls. Drive 3/4-inch wood staples through the benderboard and in the bets using a staple gun to hold the benderboard in place. Use two evenly spaced staples on each stake, one near the very top and one near the bottom.
Line up a second amount of benderboard with the top border of the bets, and staple it in place along the length of the raised planter. Benderboard is typically 4 inches broad, which leaves a 4-inch gap between the bottom and top benderboard rails.
Cut several 1-by-2-inch planks to 12-inch lengths to your vertical planter pickets.
Stand the 1-by-2-inch lumber bits erect and pressed against the exterior of the benderboard rails, together with the 2-inch sides facing out and 1/2 inch of spacing between each plank. Drive 3/4-inch wood staples through the rear side of the benderboard and in the backs of the 1-by-2-inch planks to hold them in place, using two staples through the very best benderboard rail and two through the underside benderboard rail. When the 1-by-2-inch planks line up in front of one of the 2-by-2-inch bets, then drive 1-inch wood screws through the front of the boards and in the bets.
Line the area within the curved wood planter with permeable Landscaping cheap Flagstaff material; staple the Landscaping cheap Boise material into the wooden stakes across the planter. The Landscaping cheap San Diego material prevents soil from sliding out through the 1-inch gaps between the pickets.
Fill the planter area with potting soil, using bagged potting soil or your mix, such as a blend of equal parts sphagnum peat moss, finished compost and coarse sand.